
Adding your logo to your website with the DreamSite builder
Follow the detailed step-by-step guidance provided.
Building a professional website is easier than ever with the DreamSite Builder. One crucial aspect of a strong online presence is consistent branding across all devices. In this guide, we'll walk you through adding and optimizing your logo for different screen sizes.
Step 1: Access the DreamSite Builder
- Open DreamSite Builder and go to your website project.
Step 2: Identify the screen size icons
- At the top of the DreamSite Builder, you'll see icons for different screen sizes:
- Desktop.
- Smaller screen or iPad
- Mobile device
- Click on each icon to view your website in different screen sizes.
Step 3: Add your logo to the desktop view
- Click on the logo in the desktop view.
- Click "Replace" to add your logo.
- Upload your logo file.
Step 4: Add your logo to the smaller screen view.
- Click the corresponding icon to navigate to the smaller screen view.
- Click on the logo area and select "Replace."
- Add your logo by selecting and uploading the file.
- Resize your logo to fit the smaller screen.
Step 5: Add your logo to the mobile view.
- Switch to the mobile view using the icon.
- Click on the logo and choose "Replace."
- Upload your logo file.
Step 6: Preview your website.
- Click "Preview" to see how your website looks in all three views.
- Check that your logo appears correctly and is sized appropriately for each screen.
You can add your logo to your website using the DreamSite Builder by following these steps. Ensuring that your logo is optimized for different screen sizes ensures consistent and professional branding across all devices. With a well-plplaced logo, you'll be closer to creating your dream website.
Chamber Pulse
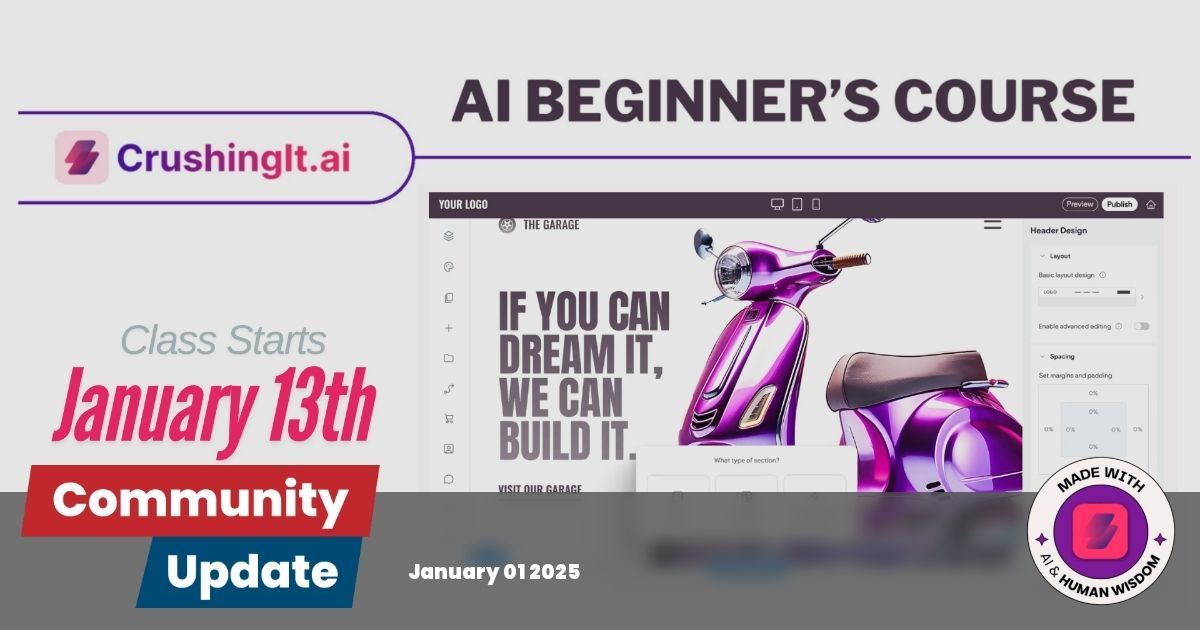
Transform your understanding of AI with our AI Beginner's Course—learn core AI concepts, use free AI tools like ChatGPT, and unlock your creative marketing potential. Join now!

Learn how CloudWise Academy equips students and businesses with AI skills, real-world experience, and actionable insights for success, while driving community growth through hands-on education and innovative AI tools.
Your website is more than a placeholder—it's where your brand lives, builds trust, and drives growth. Discover strategies to align with customer needs, optimize SEO, and create a seamless experience that turns first impressions into lasting connections.
